|
Basic Workflow
Updated 3/24/2023
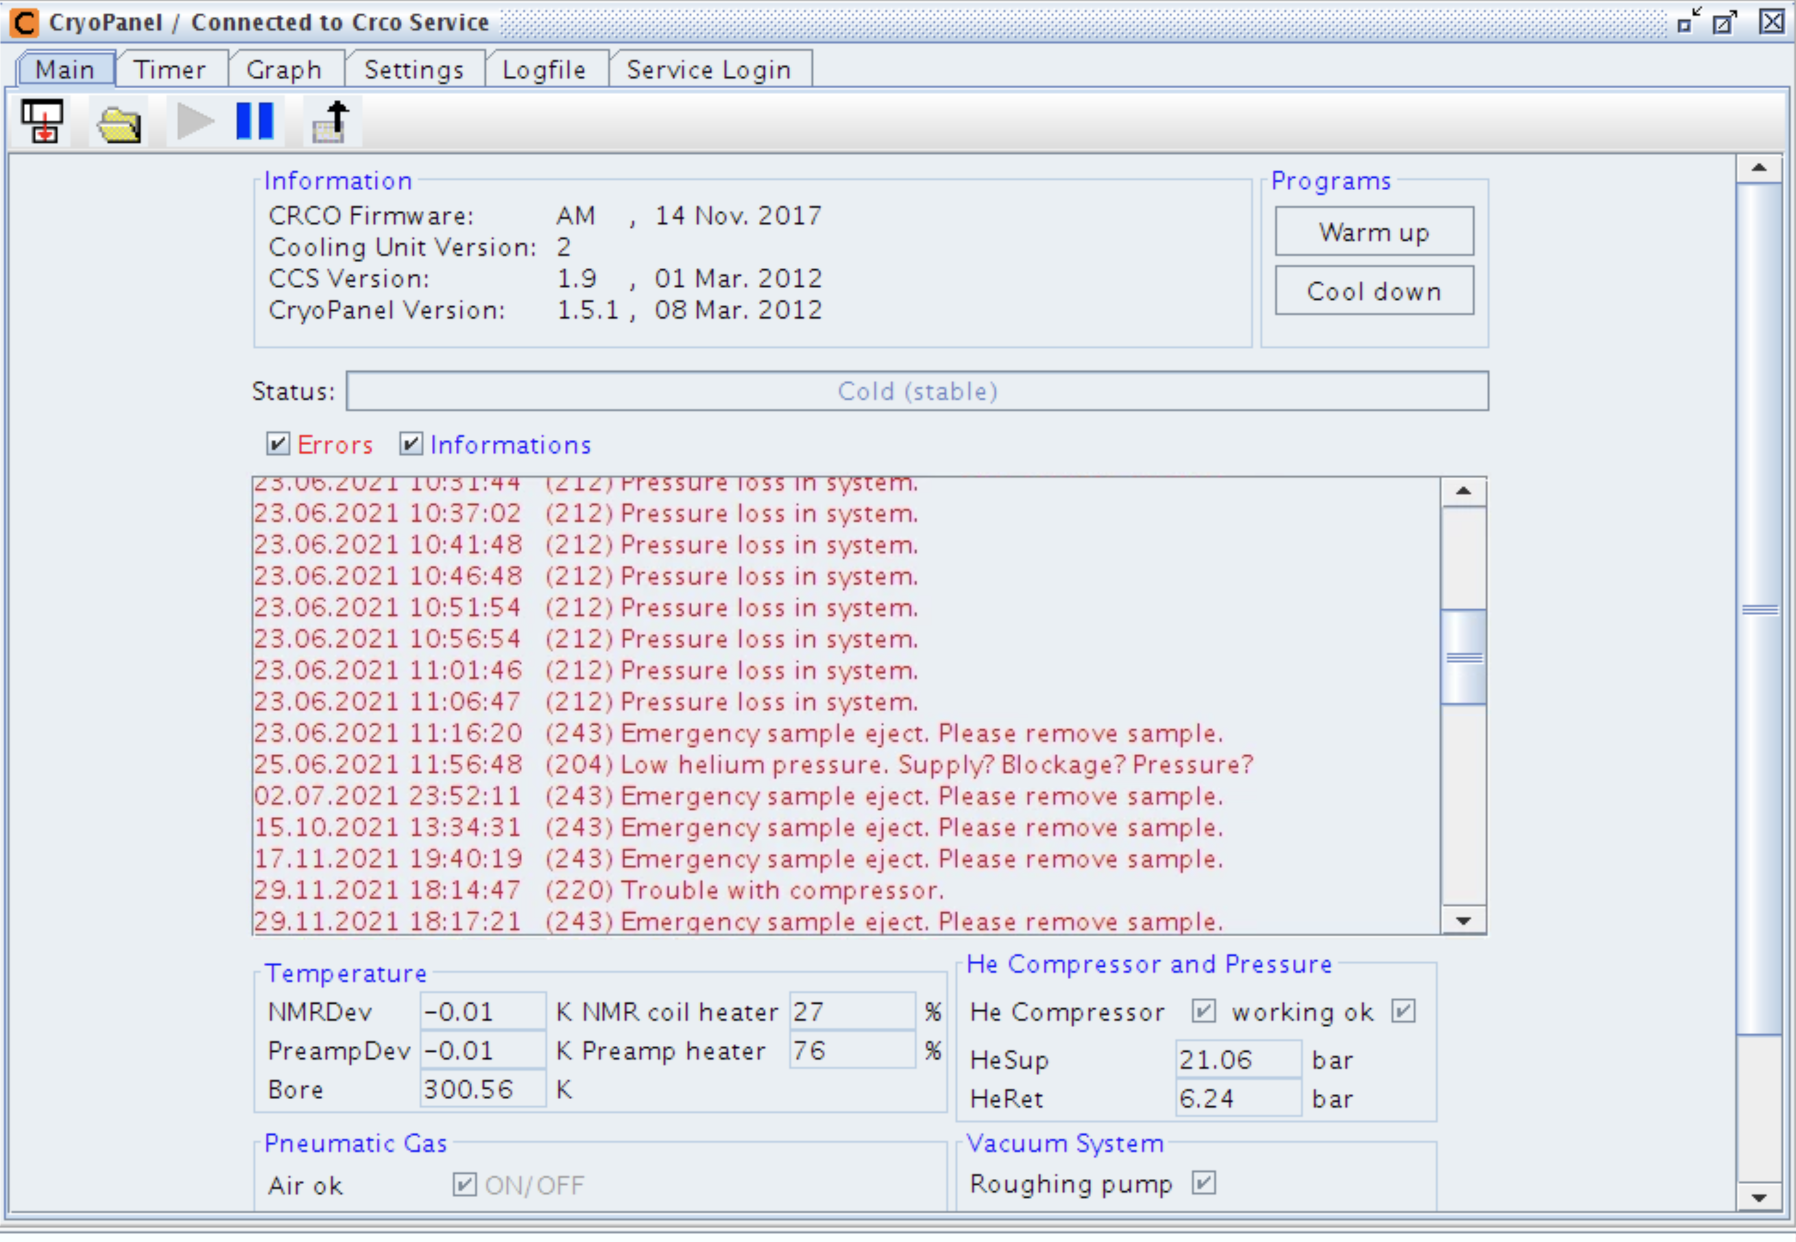
The cryogenic probe has outstanding sensitivity on both proton and carbon-13 channels. However, it uses much lower pulse powers than room-temperature probes and requires continuous cooling by the Cryoplatform. Please, follow instructions below to safely operate the Cryoprobe.
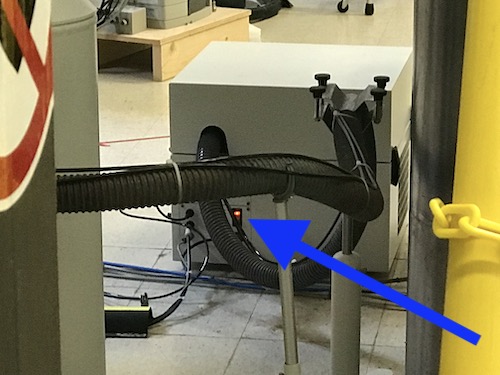
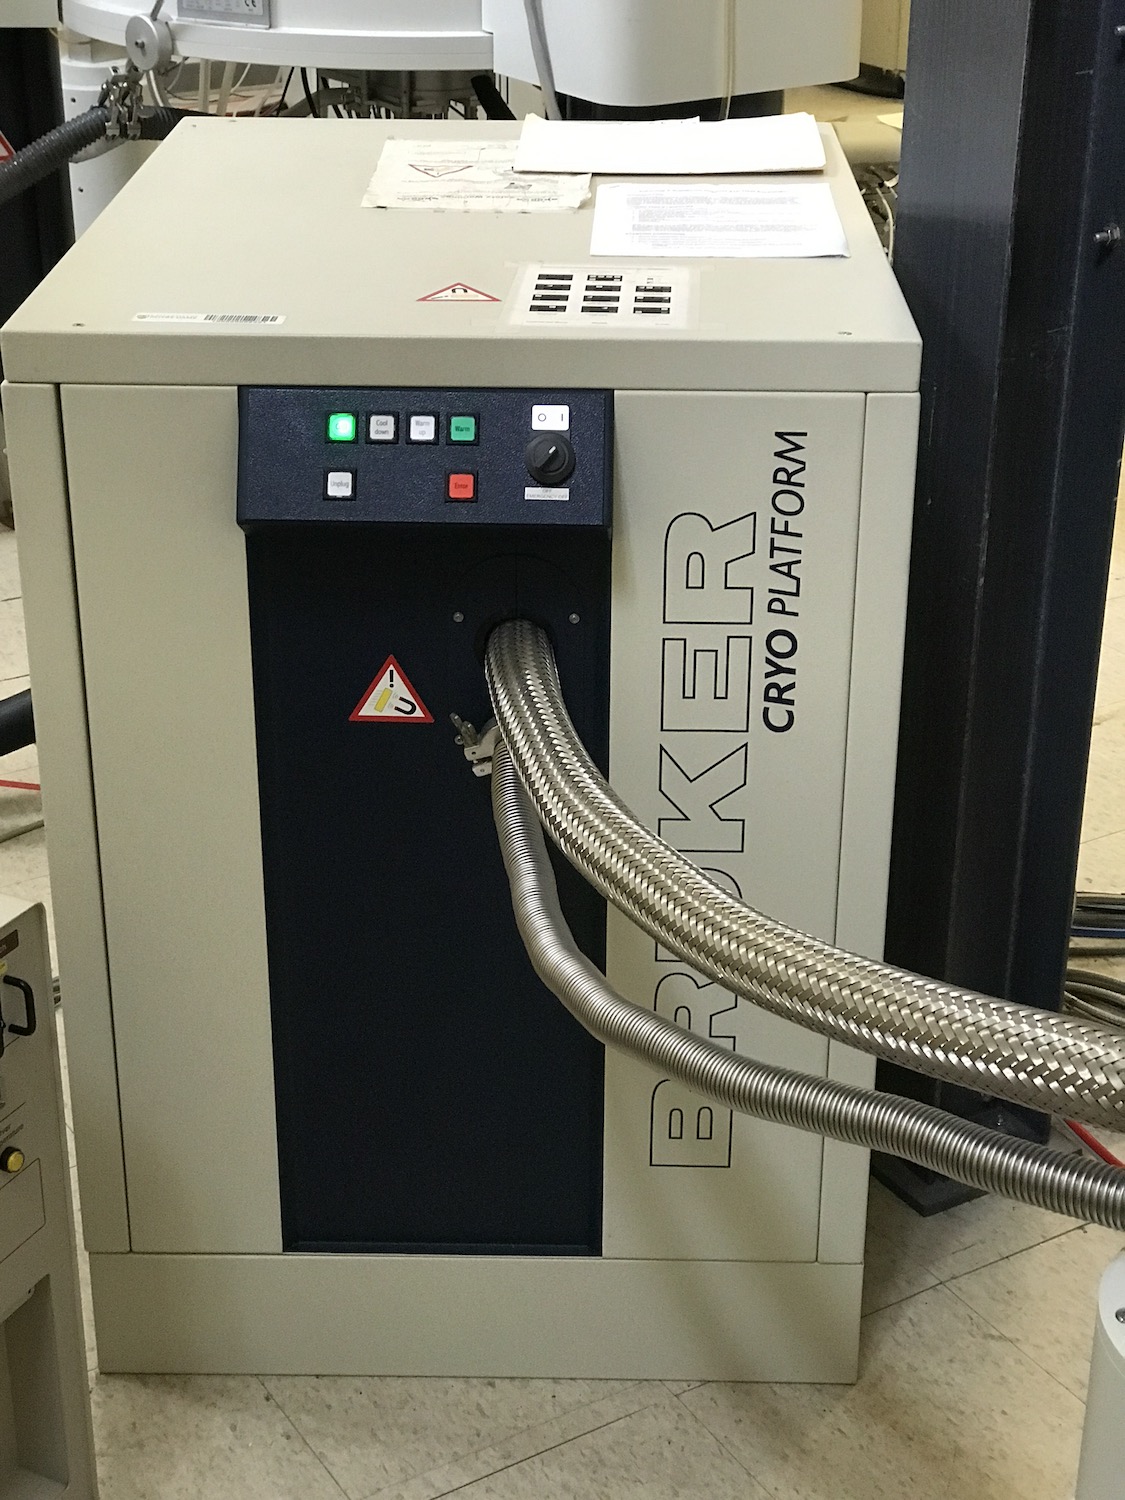
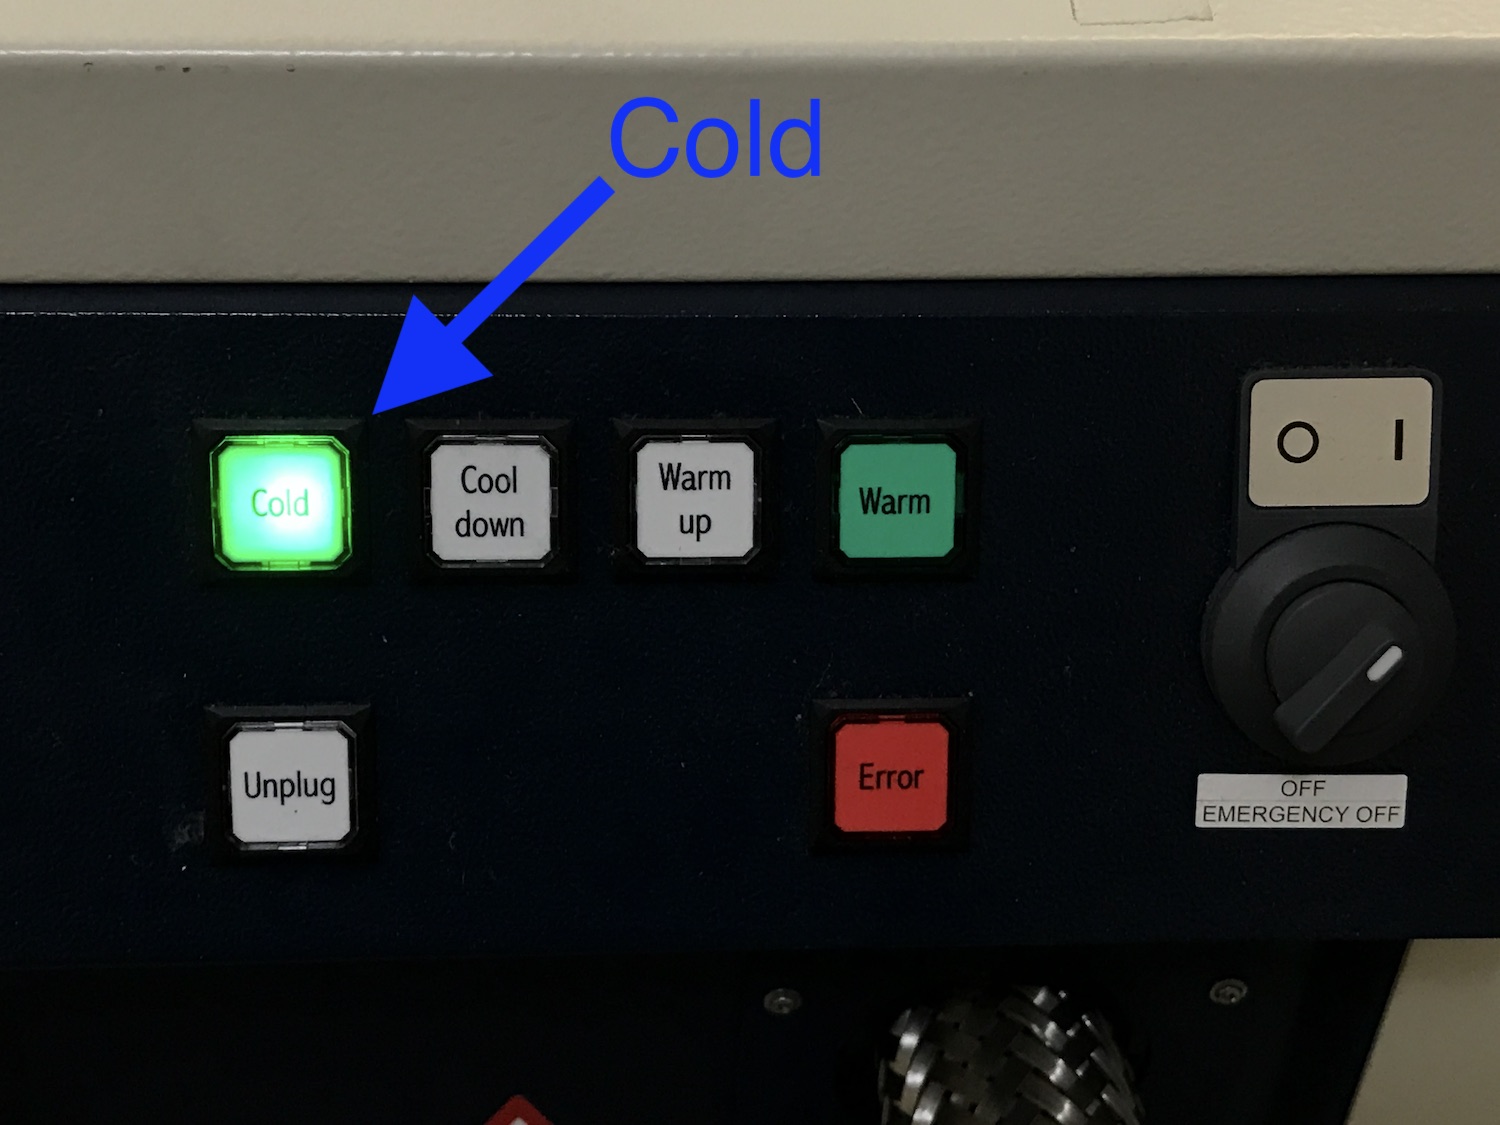
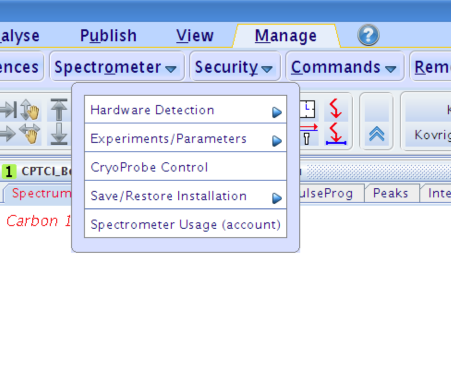
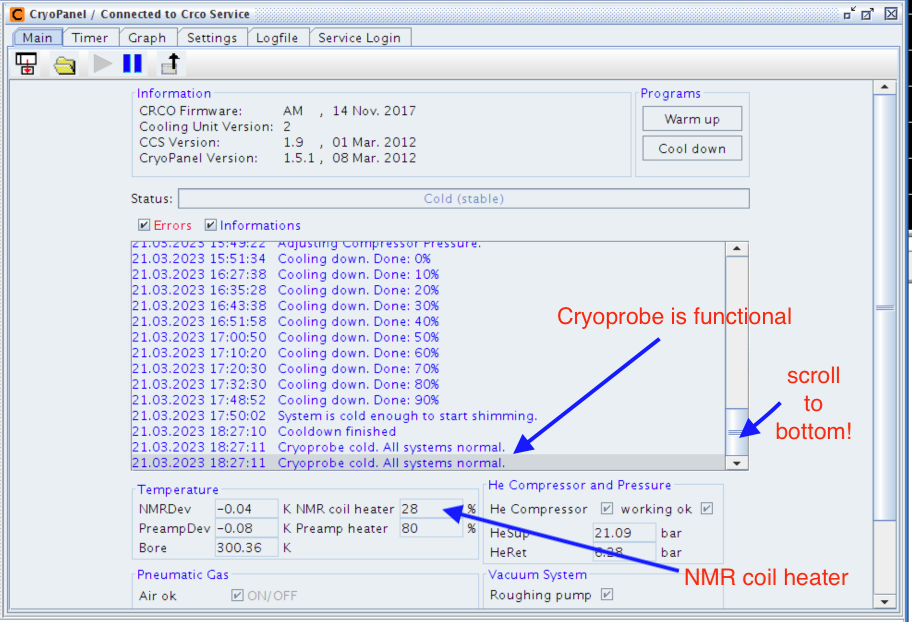
Step 1: Verify status of the Cryoprobe
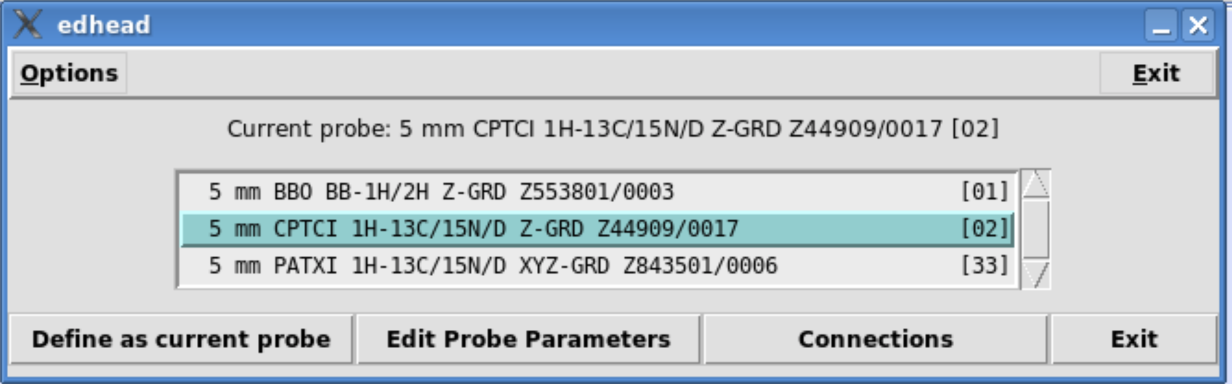
To quit this dialog, click Exit and Close in a subsequent window with spectrometer wiring.
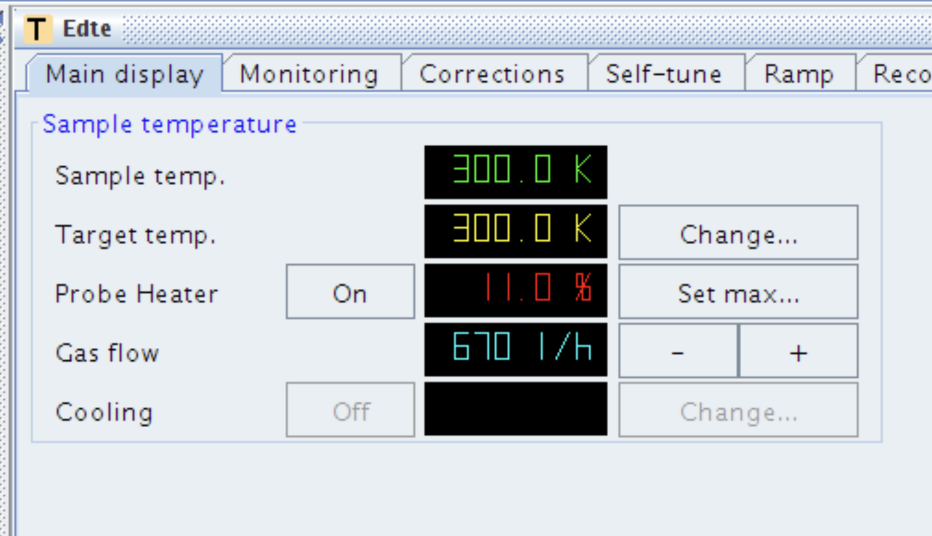
Step 2. Set the sample temperature
IMPORTANT NOTE:
Never turn OFF Probe Heater on the Cryoprobe! Temperature control must ALWAYS be on!
- Type edte
EDTE screen appears
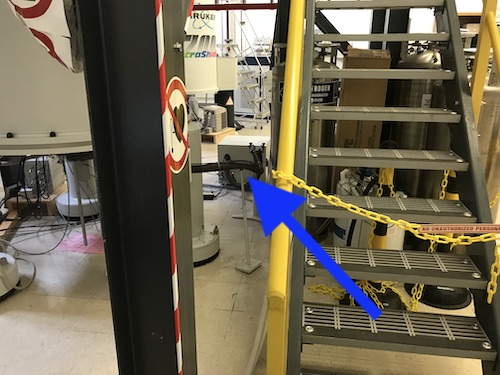
- Turn around in your seat and check visually if the orange light on the BCU-5 cooler is lit (beige box behind the staircase).
- Set EDTE Target temp according to the following calibration:
| "Target temp." setting | Actual temperature in a sample | |
|---|---|---|
| K | Deg C | |
| 302 | 298.2 | 25.0 |
| 297 | 293.2 | 20.0 |
| 295 | 291.2 | 18.0 |
| 290 | 286.2 | 13.0 |
| 283 | 279.0 | 5.8 |
| 278 | 274.3 | 2.1 |
Step 3. Insert your sample, load shims, and lock
NOTE 1: The instrument is equipped with the SampleCase sample changer. You must review these guidelines before your proceed: SampleCase training
NOTE 2: Only blue spinners may be used on a cryoprobe!
- Turn off lock and rotation:
- ro off
- lock off
For regular NMR tubes shorter than 9 inches: use the carousel of the changer
For J. Young tubes and other tubes longer than 9 inches: bypass SampleCase
If you need to do this: contact NMR staff for additional training!
Follow the Manual Insertion guidelines with these modifications:
After your sample is inserted
If the standard locked successfully but your sample did not -- the problem is with your sample: either you don't have lock solvent, or lock solvent is not what you think or its concentration is too low. Check your sample preparation protocol.
Step 4. Create a new experiment
NOTE: If your experiment uses a non-Bruker pulse program, which someone wrote,
you must contact NMR staff to set it up properly for the Cryoprobe!
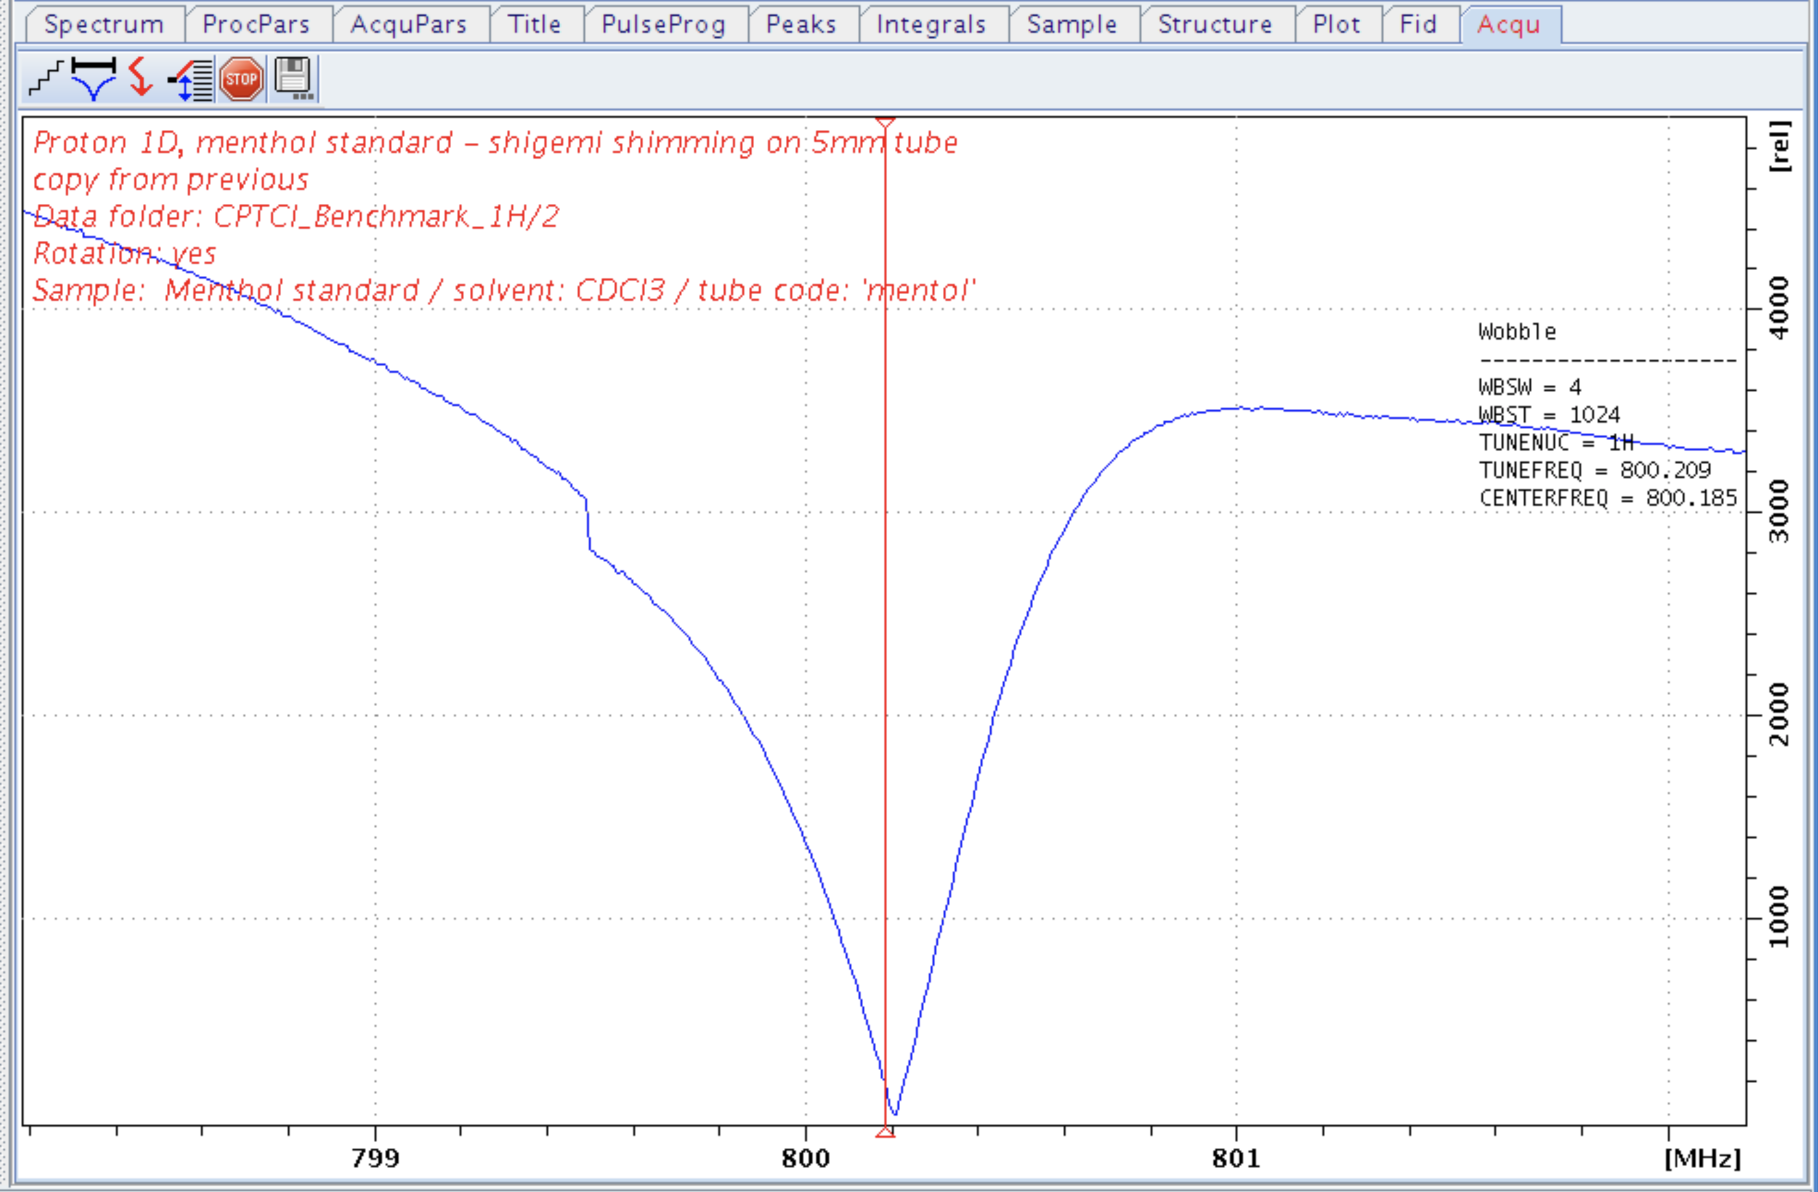
Step 5. Tuning
Step 6. Shimming
Normal value of initial B0 stdDev for a good tube right after insertion is several Hz.
Successful shimming should bring final B0 stdDev to below 1 Hz.
Troubleshooting:
Step 7. Adjust Parameters
Step 8. Start Experiment.
- A "healthy" range for NMR coil heater is above 20%.
Step 9. Finishing your work
 |